|
Didjeridu
manufacture in Eastern Arnhem Land
These few images
help to demonstrate the basics steps in the cutting and fashioning
of a traditional instrument. The basic methods are the same
for across the Top End, only the finer points of manufacture
(such as tree selection which will determine the regional
style of the instrument) differ.
The maker is Roy
Burnyila of Ganalbingu descent, Ramingining, eastern Arnhem
Land.
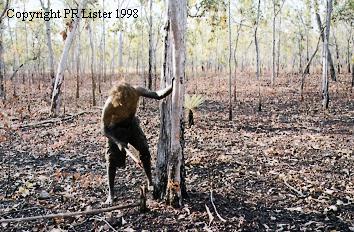
A
suitably shaped and hollow living tree is selected. This one
is a bloodwood (Eucalyptus miniata) growing very close
to the base of a stringybark (E. tetradonta). The flitch
of bark removed near Roy's hand is where he tested the degree
of hollowness of the trunk prior to cutting. Trees that are
determined to have too small or too large a cavity are left
standing. Yolngu are particularly adept at selecting suitable
trees in this manner.
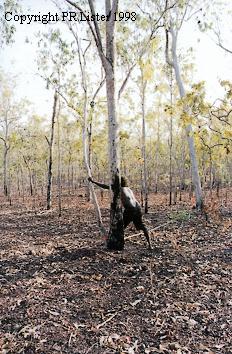
The termites are
extremely efficient at consuming the timber, so fairly large
cavities exist in relatively small trees. Once it has been
cut around the base it doesn't take much effort to fell.
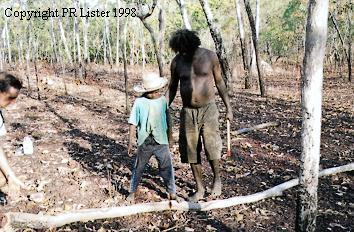
Once felled, the
craftsman determines at which point to cut what will become
the proximal (mouthpiece) end. That's my bald patch you can
see on the left, and Roy's son, Alvin wearing my hat.
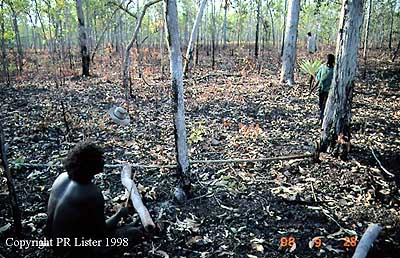
click on photo for enlargement
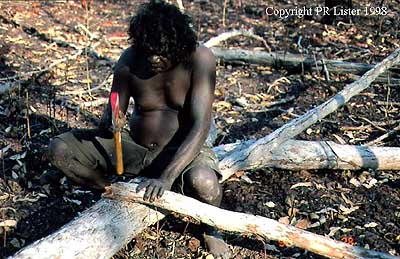
Once cut, the instrument
is banged on its' end a few times to remove any loose termite
frass, soil and wood. If there's a blockage, or if something
get's stuck during this process, then a thin sapling can be
inserted and used to clear the blockage. That happened in
this instance.
click on photo for enlargement
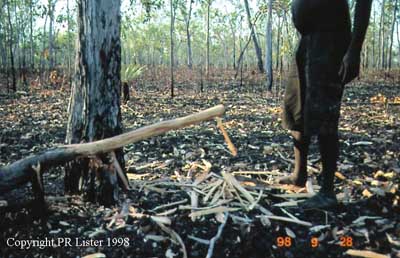
The mouthpiece
is trimmed to remove rough material. At this point, the instrument
is already playable!. The careful choice of tree means that
the mouthpiece is already close to the desired diameter. Here
is a fundamental difference between traditional manufacture
such as this and the way in which most didjeridus from other
parts of Australia are being made. Many of the didjes I see
that are not made this way have hollows too large to be used
as is, and as such have large amounts of beeswax applied to
them to reduce the diameter to a playable size. If wax is
applied by Roy, it's just a thin smear for "comfort".
click on photo for enlargement
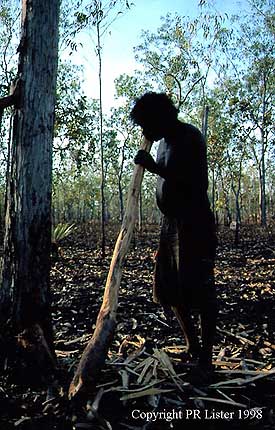
The bark is stripped
on the spot or back home (as in the final photo).
click on photo for enlargement
A short break and
a blow to test the sound - this turned out to be an excellent
instrument.
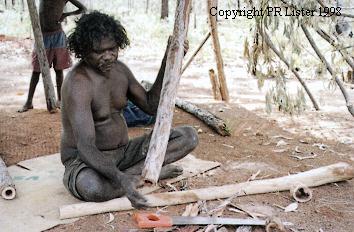
Here Roy's trimming
the length and cleaning out any remaining loose material.
The "skinned" (de-barked) instrument lying in front of him
is the instrument that was being cut in the previous shots.
This page is Copyright
PR Lister 1999. Please feel free to link to this page if you
wish, but you must contact
me if you wish to use this material in any other way.
Special thanks
to Roy Burnyila and GL for permission to use these images
and for taking me with them on the day.
|

